An action is an event your Zap performs after your trigger event occurs. Whenever your Zap triggers, the Zap will then run through every action in your workflow.
1. Select your app and event, connect your app account
Select the event you want to perform and the app you want to perform it in. Your action will run after your Zap triggers. Then, connect your app to Zapier so you can move data between your apps.
- In the Zap editor, select the Action step. A dialog box will open.
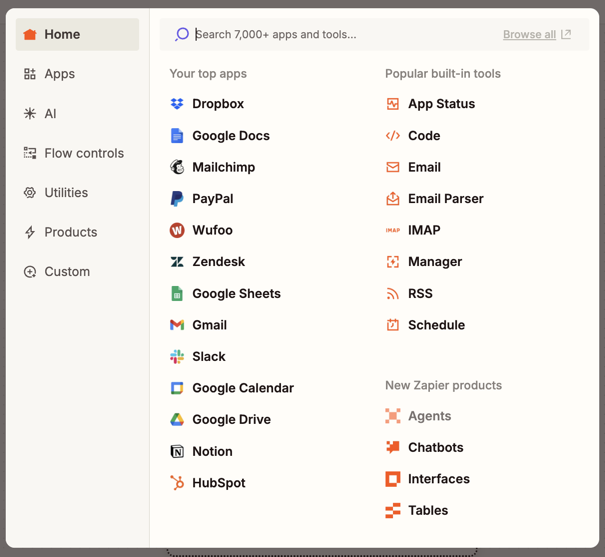
- In the search box, search for and select the app that will perform the action in your Zap. The right sidebar will open to the Setup tab.
-
Click the Action event field to open the dropdown menu.
- Select the event that you want the Zap to perform.
-
Click the Account field. A popup window will open.
- Select an existing account from the list, or click + Connect a new account. Learn how to connect a new account.
If you frequently use the same action apps or events, you can pin them so they always appear at the top of the dialog box.
2. Configure your action
Continue setting up your action by selecting what the action should do in the Configure tab.
- Select the Configure tab.
-
Set up all required fields and any optional fields that you need for your workflow.
- Required fields have an asterisk after the field name.
There are different field types in Zapier that determine what types of values you can enter in a field. You can enter values in fields by:
- Manually entering values.
- Mapping fields from a previous step.
- Selecting a value from a preset list in the dropdown menu.
3. Test your action
Test your action to verify it is sending the right data to your app. Testing creates a test record, or a representative sample of the step's data that your Zap will send to and create in your app. You can then use that data in subsequent Zap steps by mapping fields. Learn more about testing Zap steps.
- Select the Test tab.
-
If you want to perform the action live to test the step, click Test step.
- The Data in tab will display the fields and values that you set up in the action step.
- The Data out tab will display the fields and values that your app returns as confirmation.
- If you do not want to test the step live, click Skip test.
When you test an action step, Zapier will perform the action on your behalf. Testing is live and may result in changes made in your app. If you have issues when testing, you can review error messages in the Data out tab or use AI-powered troubleshooting to automatically review errors and suggested solutions.
4. Publish your Zap
Once you finish setting up your Zap, you can turn it on by clicking Publish in the upper right. Zapier will actively monitor your trigger app for new data and run your action steps each time your trigger event occurs. Your Zap will only monitor for and trigger on new data that occurs after it's published.
You can view a log of all your Zap activity, including all the data that goes in and out of each of your Zap steps, in your Zap History.
Zapier will automatically turn off your Zap if:
- The Zap uses a feature that's no longer available in the account (e.g., multi-step Zap workflows or premium apps) due to a trial expiration or plan downgrade.
- Multiple errors occur each time the Zap tries to run. An email notification will be sent if a Zap is turned off due to excessive errors.
You can trigger from any new or updated row in your spreadsheet. Then, you can add actions to your workflow like:
- Sending a new message in your messaging app.
- Creating a new invoice in your accounting app.
- Updating a lead in your customer relationship management app.
To set up your action, in the dialog box:
- Select Slack for the app and Send channel message for the trigger event.
In the Setup tab:
- Connect your Slack account to Zapier.
In the Configure tab:
- The Channel and Message Text fields are required, as indicated by the asterisk next to their field names. You must enter or select values for each.
- All other fields are optional. Fill out those fields only if you want to change default selections or enter values where there are none. For example, if you: - Want to send the message as a bot, leave Yes selected in the Send as a bot? field. Then, the Zap will post the message as a bot instead of as the person whose account you connected to the step. - Want the bot to have a specific name when it posts in your Slack channel, enter the name in the Bot Name field. If you do not enter a bot name, the Zap will post the message as “Zapbot”. - Want the bot to have an avatar icon when it posts in your Slack channel, enter the Slack emoji you want to use as the icon. - Do not want to include the Zap URL in the message, select No in the dropdown menu of the Include a link to this Zap? field.
In the Test tab:
- After you test your action step, Zapier will send a real message to your Slack channel as a test record.
- Review your test record. - In the Data out tab, you can see all of the metadata for the message. This is info that the app returns to Zapier to indicate that the message was sent. It may include additional fields that you did not see during setup, but that the app returns by default. You can map any of these fields to later steps in your Zap. - Go to your app to review the data. Check if it matches what you set up in your Zap and what you see in the Data out info that the app returned to Zapier.
Customize your Zap further
Add more action steps
If you’re on a free trial or paid Zapier plan, you can add multiple actions to your Zap workflows.
- More action steps.
- A search step to find existing data in your apps.
- Filters to restrict your Zap from running unless certain conditions are met.
- Formatter steps to format data in a Zap, such as editing text or changing a date format.
- Delay steps between other steps.
- Paths to perform different actions in your Zap based on different conditions (Professional plans and above).
Learn more about customizing your Zap workflows.
Rearrange steps
You can rearrange the order of steps within your Zap:
- Hover over the step until the drag and drop icon appears at the left of the step. The mouse arrow will convert to a gloved hand, indicating that you can grab an item.
- Click and hold the drag and drop icon , then drag the step to another location.
- Release the mouse to finish moving the step.
Copy and paste steps
You can copy and paste steps within and across Zap workflows:
- Next to the step you want to copy, click the settings icon .
- Select Copy from the dropdown menu. A notification window will appear at the bottom of the screen indicating that your trigger was copied to your clipboard.
- Navigate to the Zap and step where you want to paste your step.
- Click the settings icon next to the step.
-
Click:
- Paste below to paste the step below the current selected step.
- Paste to replace to replace the current step with the copied step.
Next steps
Learn more about Zap limits.