You can turn an existing Zap into a guided template that walks your teammates through setting it up. As the guided template creator, you control which fields your guided template users can edit, add custom help text, and choose who to share the guided template with. Learn more about guided templates.
Available on plans:
Free
Professional
Team
Enterprise
Create a guided template
- Open your Zap in the Zap editor.
- In the middle of the top menu, click the down arrow icon next to the name of your Zap. A dropdown menu will open.
- Click Create a Template. A wizard will open to walk you through creating a guided template.
The wizard will consist of the following sections:
- Getting started.
- App connections.
- Fields.
- Variables.
- Review.
Each section will consist of:
-
A left panel with:
- Help information that explains what you need to do.
- An outline of the sections you need to complete.
- A right panel where you will configure the guided template.
- In each section of the guided template wizard, you can click Generate with AI to automatically set up each section.
- You can click Minimize in the top right corner of the wizard to return to your Zap while keeping the wizard running. A View in Template mode button will appear in the top left corner of the Zap editor to return you to the wizard.
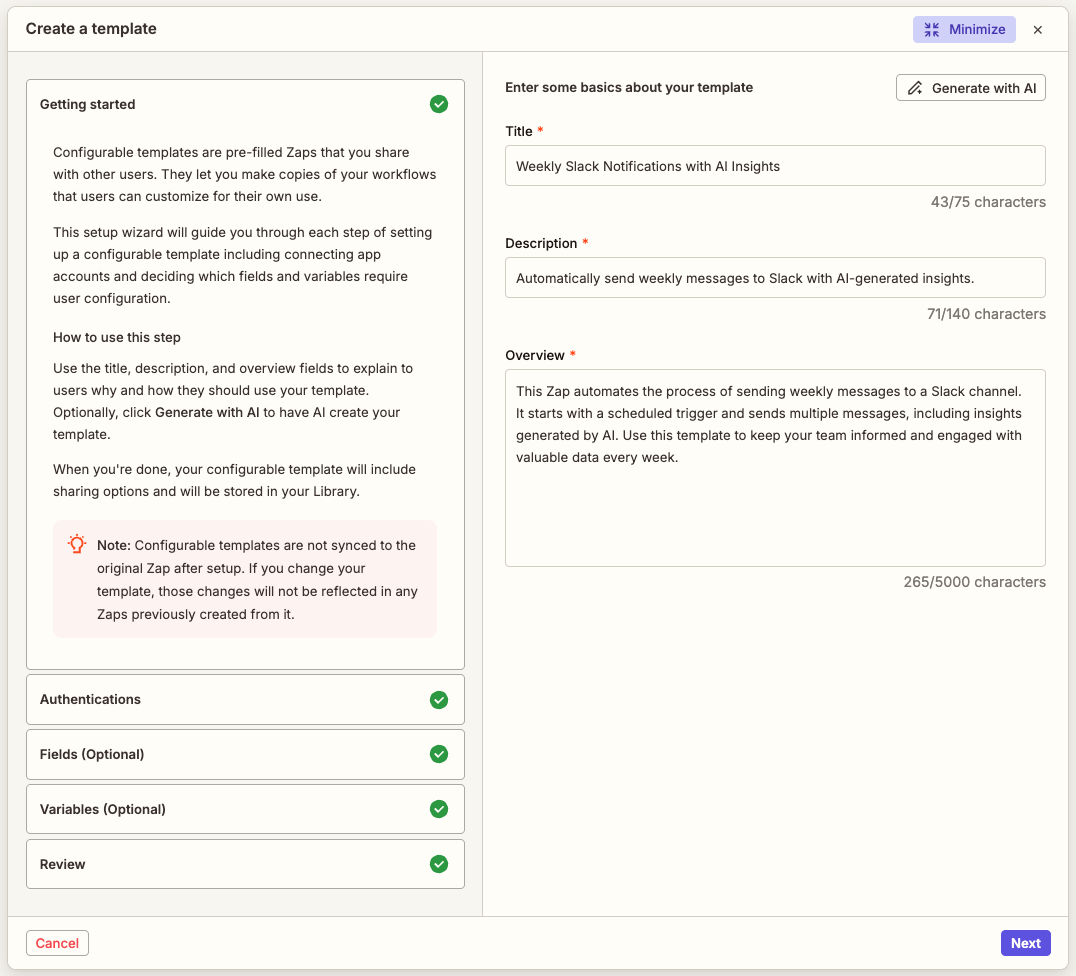
Getting started section
In the Getting started section, you will enter basic information about the guided template. Use the Title, Description, and Overview fields to explain to users why and how they should use your guided template.
- In the Title field, enter a name for the guided template.
- In the Description field, enter a brief explanation of what the guided template does.
- In the Overview field, enter a thorough explanation of what the guided template does.
- Click Next to continue to the App connections section.
Information you enter in these fields will be visible to your guided template users.
You can enter up to 75 characters in the Title field, 140 characters in the Description field, and 5000 characters in the Overview field.
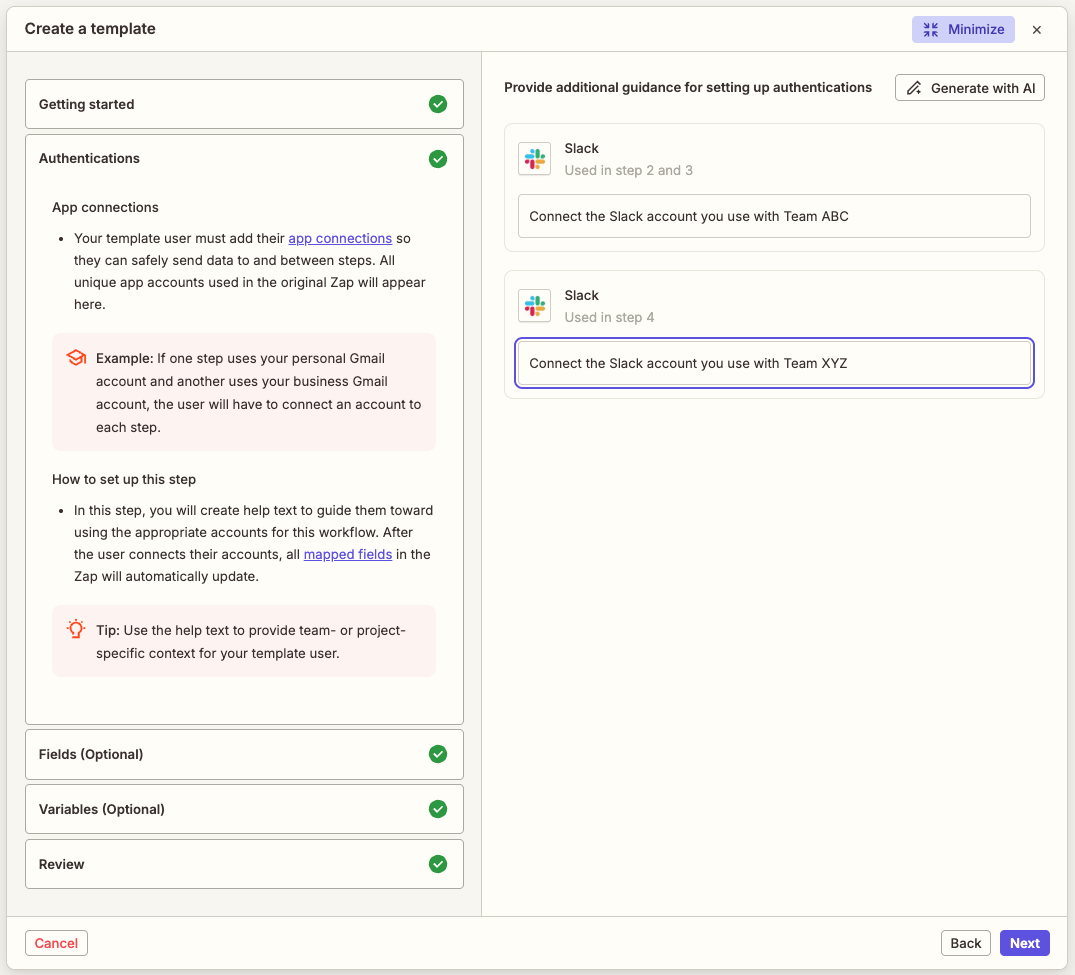
App connections section
In the App connections section, you will enter help text to describe which app connections your guided template user should use in the Zap. The guided template will list each unique app connection used in your Zap. For example, if you used two different Slack accounts in 5 different steps, you will see two app connections listed.
Your guided template user must add their app connections so they can safely send data to and between steps. After the user connects their accounts, all mapped fields in the Zap will automatically update.
- Click the input box below an app connection.
- Enter help text you want to display to your guided template user to describe which app connection they should use.
- Click Next to continue to the Fields section.
Your guided template users will not use your app connections. They will have to connect their own.
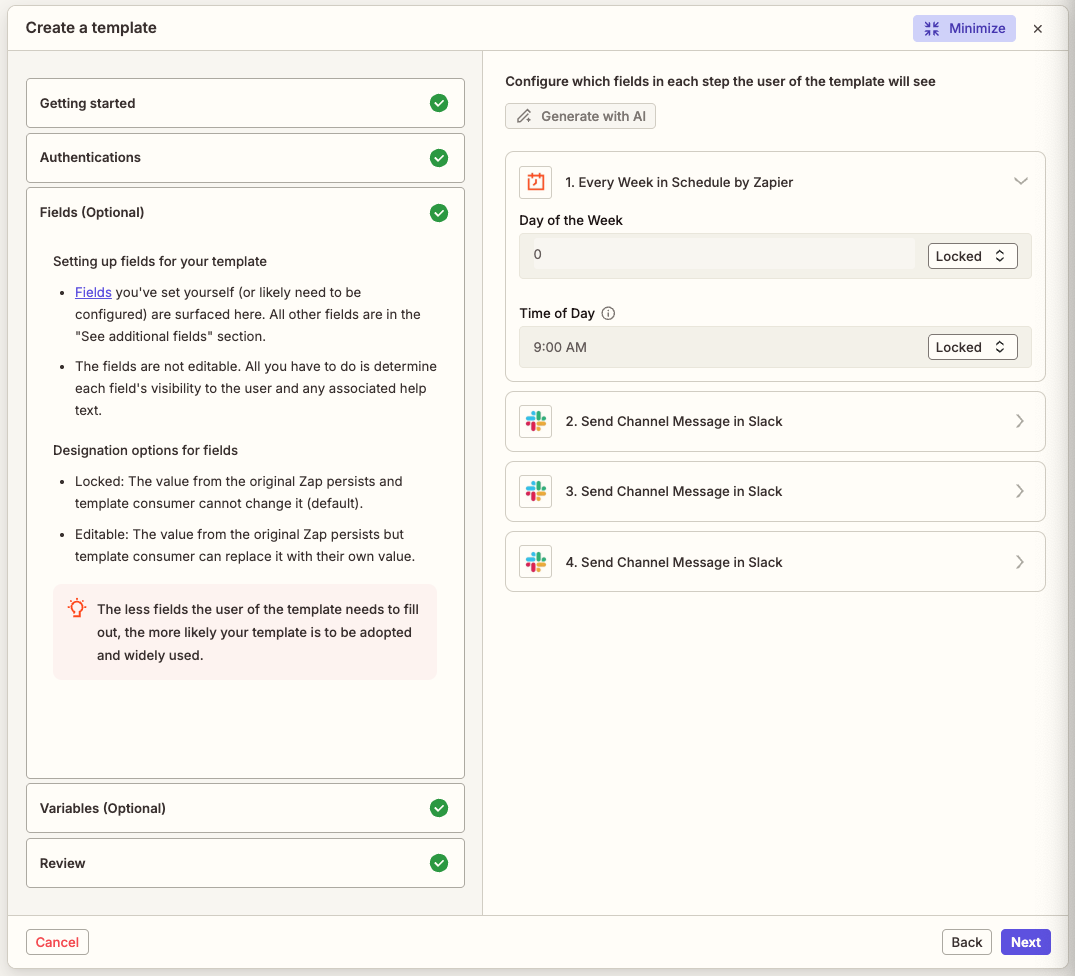
Fields section
The Fields section lists all of the Zap's steps and all fields that contain values. You will decide whether guided template users can change your preconfigured field values.
- Select a step in your Zap to expand the accordion for that step.
- Click the dropdown menu next to a field to expand it.
-
Select either:
- Locked: prevent guided template users from editing the field's value. This is the default.
- Editable: allow guided template users to edit the field's value.
- Repeat for all fields in your Zap.
- Click Next to continue to the Variables section.
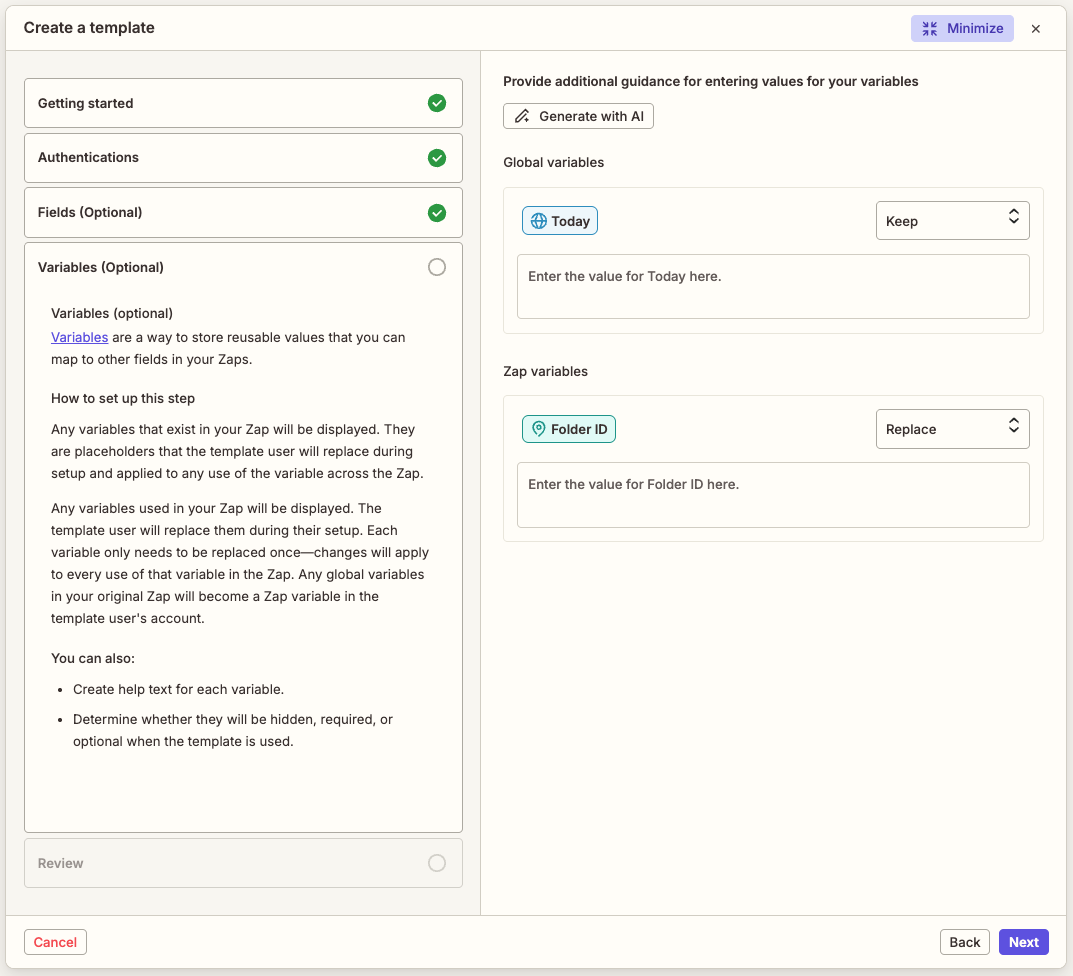
Variables section
Variables are a way to store reusable values that you can map to other fields in your Zap workflows. The guided template will display any Zap or global variables used in the Zap. You will decide whether guided template users can change your preconfigured variables.
- Click the dropdown menu next to a variable to expand it.
-
Select either:
- Replace: allow guided template users to change the variable. This is the default.
- Keep: prevent guided template users from changing the variable.
- (Optional) In the input box below each variable, enter help text you want to display to your guided template user to describe what they should do with the variable.
- Repeat for all variables in your Zap.
- Click Next to continue to the Review section.
The guided template will not display system variables, only Zap and global variables. Your guided template user must be on a paid Zapier plan to use global variables.
Review section
In the Review section, the right panel will display any issues that would prevent the Zap from being published.
- Review any issues and fix them in your Zap.
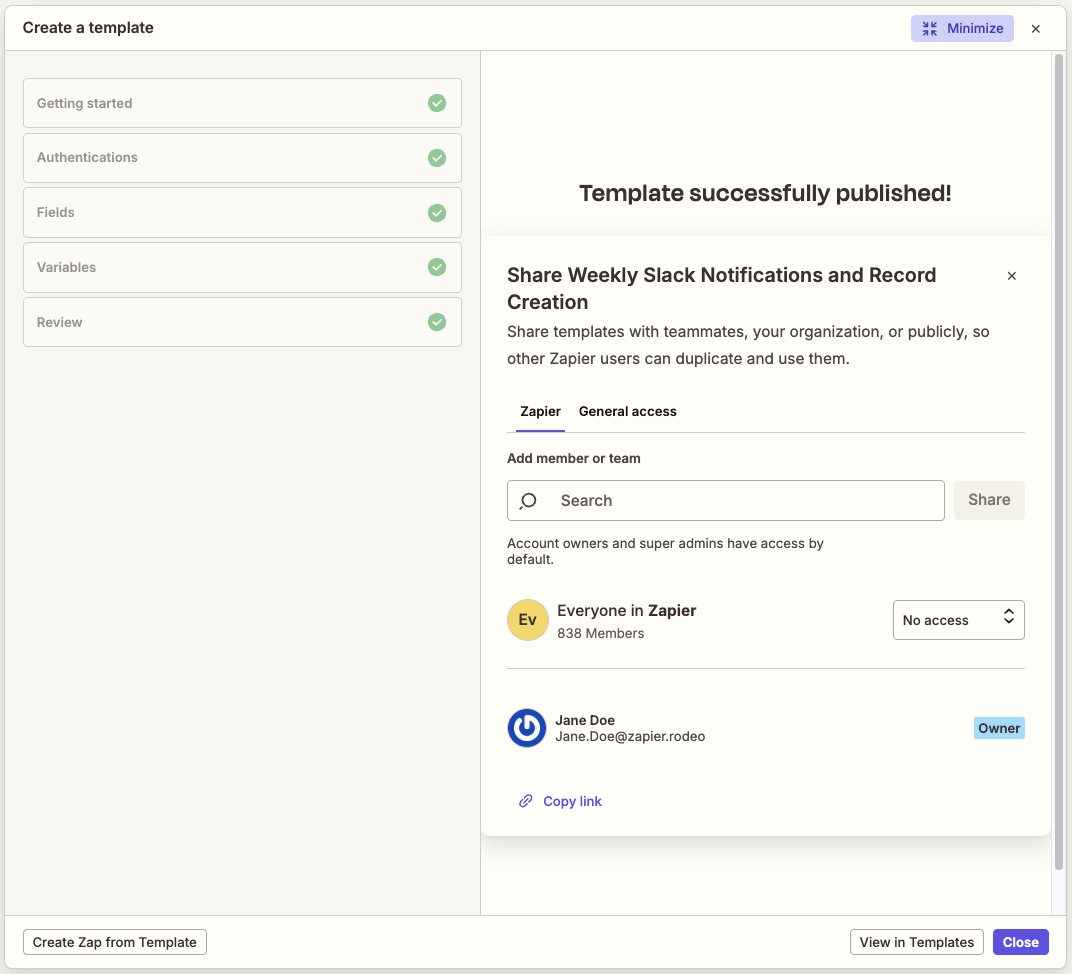
- When you're ready to publish, click Publish template in the bottom right corner of the wizard. A dialog box with sharing settings will appear.
You can either enable limited sharing with specific members or teams in your account, or give general access to anyone with the link to your guided template.
To share with specific members or teams:
- Select the Account tab, where "Account" is the name of your Zapier account:
- In the Add member or team field, search for and select the member or team you want to share the guided template with.
- Click Share.
-
Below that field, the dialog box will display all members and users that have access to the shared guided template. Click to expand the dropdown menu to change their access. Select either:
- No access: revoke their access.
- Viewer: allow them to view and use the guided template.
- At the bottom left of the dialog box, you can click Copy link to get a sharing link.
- Click Close at the bottom of the wizard to finish.
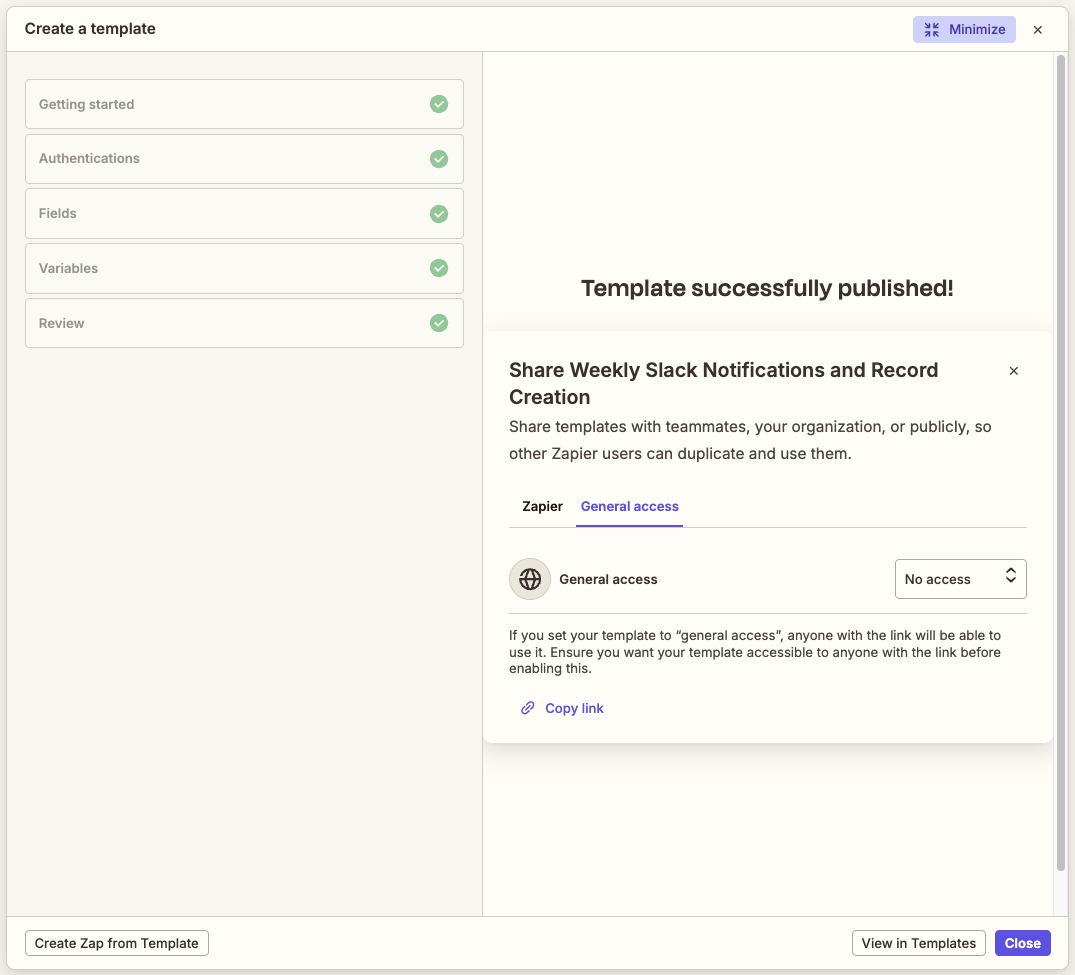
To give general access to anyone with the link to your guided template:
- Select the General access tab.
- In the General access field, click the dropdown menu to expand it.
-
Select either:
- No access: prevent anyone from using the guided template.
- Viewer: allow users to view and use the guided template.
- At the bottom left of the dialog box, you can click Copy link to get a sharing link.
- Click Close at the bottom of the wizard to finish.
When you share your guided template, your guided template user will see any information you enter in the guided template.
Limitations
-
If you're on a Free Zapier plan, any guided templates that you use must meet your Zapier plan restrictions.
- You will not be able to publish a Zap created from a guided template if it contains premium apps or more than one action step.
- If you're on a Free Zapier plan, you cannot publish a Zap created from a guided template if it contains an app or action that violates your Enterprise account's app access settings.
- If a logged out user ties to access a guided template, they'll see a 404 error page.
Next steps
- Learn how teammates can use a guided template to create their own Zap workflows.
- Manage your guided templates from the Templates page.