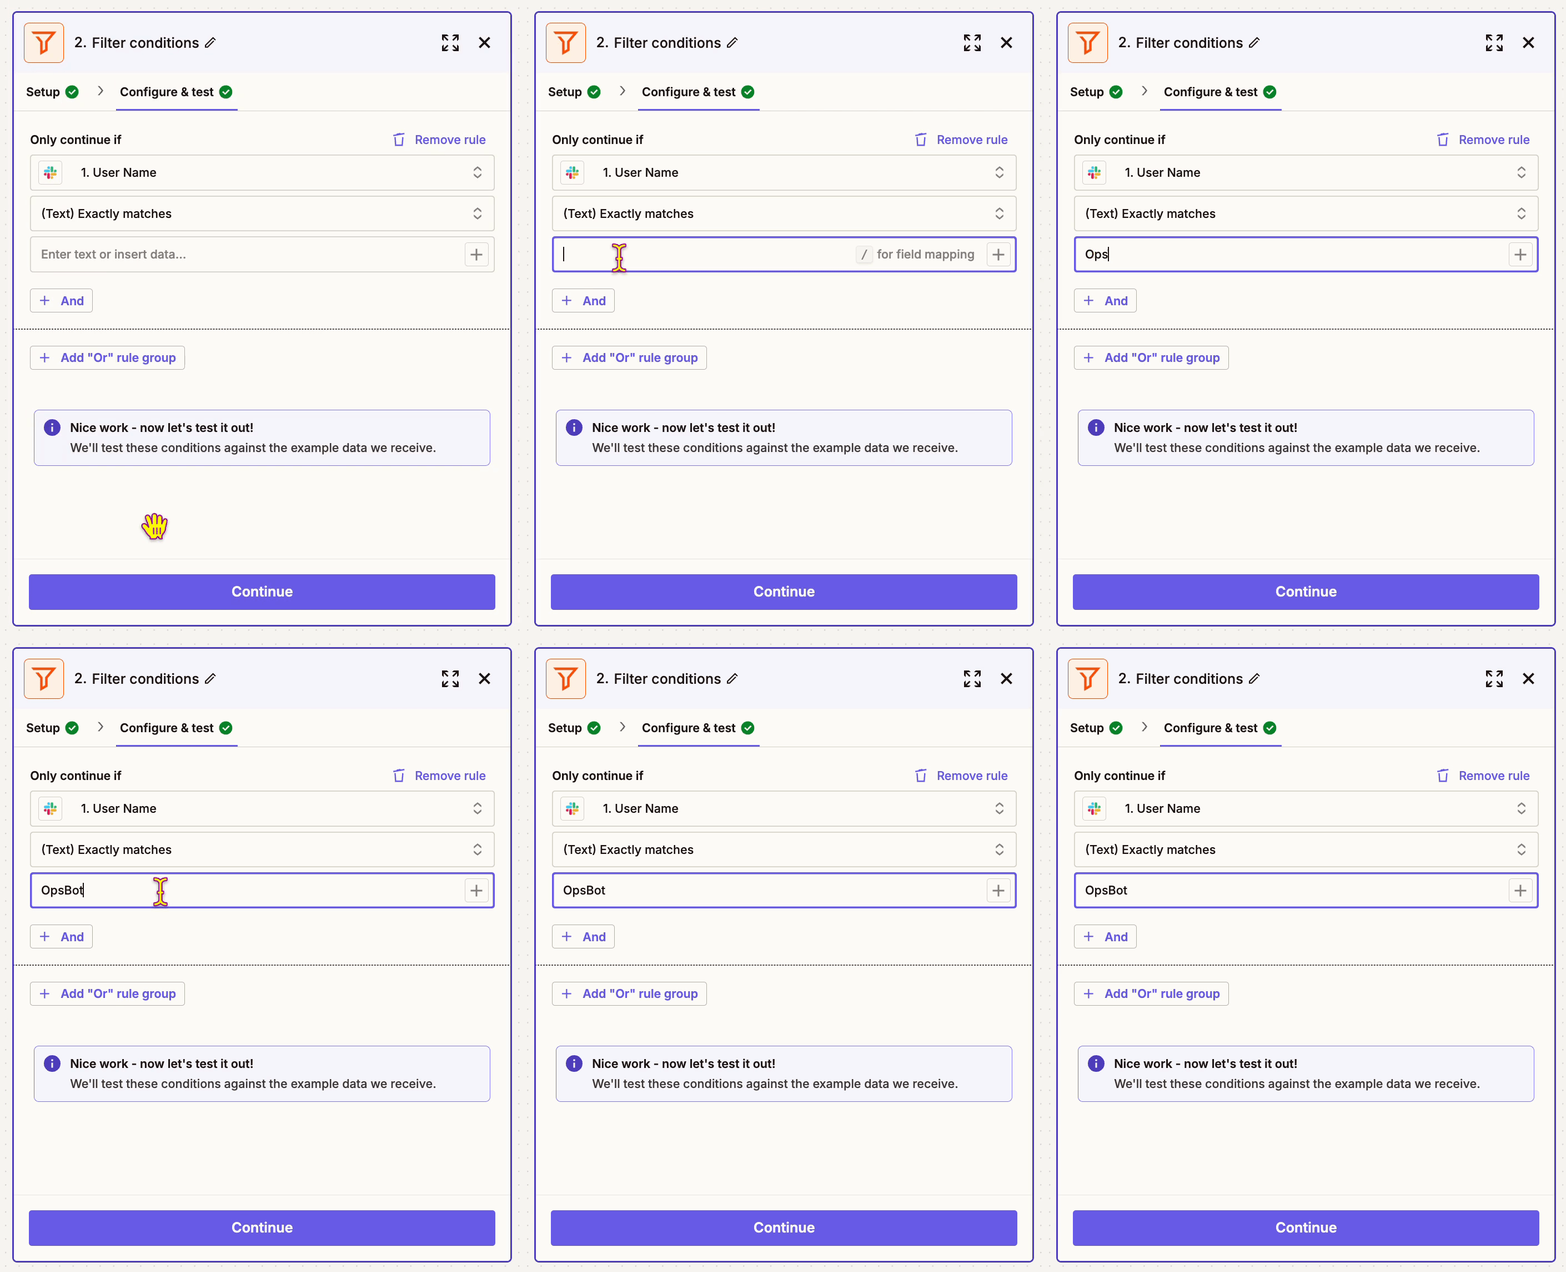
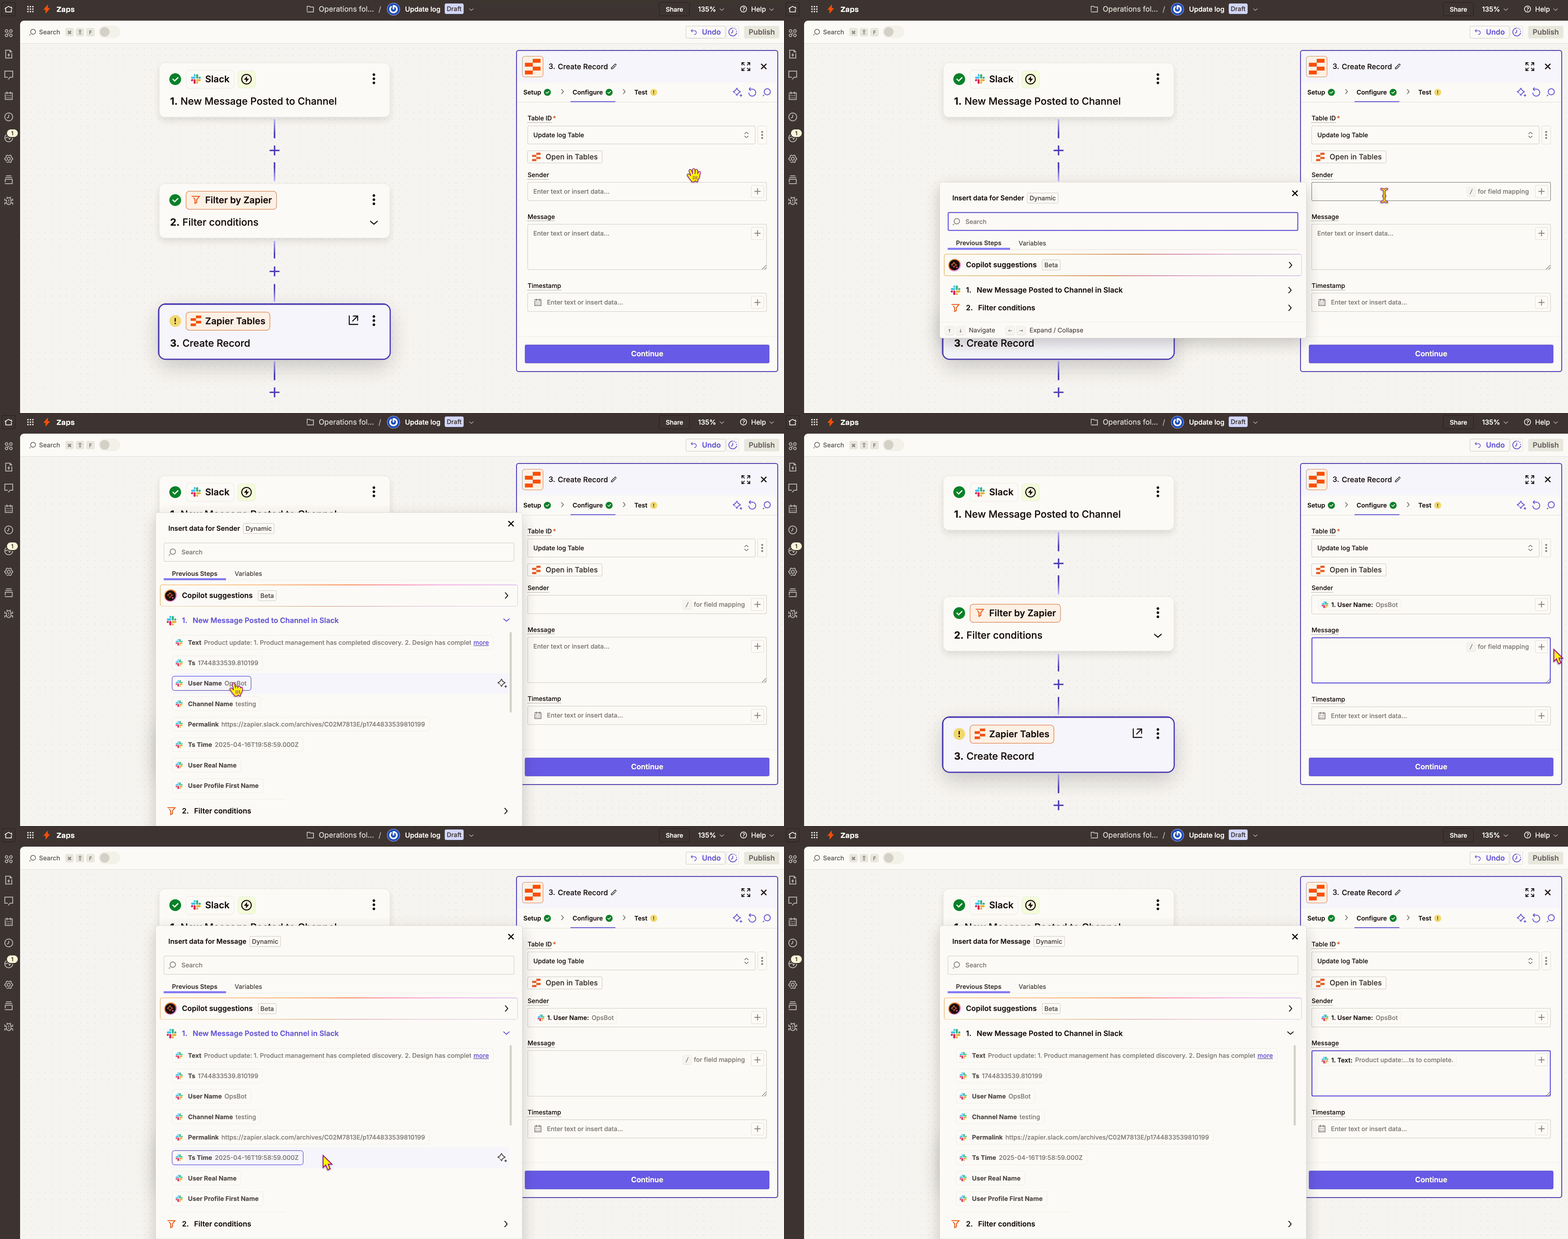
When you build your Zap, you decide what data should automatically flow through each step. You do this by entering values into fields in each step. Those values can be static, meaning they’re the same every time the Zap runs, or they can be dynamic, meaning they change. How you enter values in a field will vary depending on the field.
Types of values
There are two types of values: static and dynamic.
Static values
Static values are fixed and do not change. Use static values when you want to send the same value every time the Zap runs.
Dynamic values
Dynamic values are variable and will change. Use dynamic values when you want to send a different value every time the Zap runs.
Each field is limited by its field type. Each field type will only accept values that are formatted in a specific way. Learn more about field types in Zaps.
How to enter values in a field
There are three ways to enter values in fields: by manually entering a value, mapping fields from previous steps in your Zap, or selecting a value from a dropdown menu.
Manually entering a value
You can manually enter a value by typing or pasting it directly into the field. This is how you enter static values.

Field mapping
Field mapping is a way to connect two fields so data flows between them. When you map fields, your Zap will automatically take the output of the first field and enter it as an input in the second field. This is how you enter dynamic values in the second step.
You can only map fields that are in separate steps. Data will always flow in one direction, from the preceding step to the subsequent step.

The mapped field is displayed as a pill, or bubble, encasing info about the preceding step where the value is coming from. This includes the:
- Icon for the app used.
- Step number.
- Field name (black, bold text) followed by a colon.
- Field value (plain gray text).
- The value is a placeholder that comes from the test record created when you tested the preceding step. It will only be used by your Zap when you test this step during editing.
- Once you publish your Zap, real data from your apps will flow through the Zap.
You can manually enter values or map fields from previous steps or variables in any field that has a “+” button at the end of the input box. Learn how to map fields in Zaps.


Selecting from a dropdown menu
You can identify a dropdown menu field by the stacked up and down arrows at the end of the input box. They have preset options for you to choose from. When you click on the field, the dropdown menu opens so you can select an option. Your selection is a static value.

If you want to enter a different value than what is offered in the dropdown menu, you must use a custom value instead. Custom values allow you to manually enter or map fields in the dropdown menu. To the right of a dropdown menu, there’s a settings button that allows you to switch between the default static option and a custom option in the dropdown menu field. Learn how to use a custom value in a field.


You want to create a workflow where every time you create a new monthly sales spreadsheet, you send an email that includes a URL link to the spreadsheet. Your trigger includes a field, Direct Link, that contains the link you want to use. In the action step:
- You can enter the email subject as a static value in the Subject field by typing in “Monthly sales report”. You also want to include the timestamp for when the spreadsheet was created, which is available in your trigger’s Created Date field, so you can map that after your static value.
- In the Body field, you can map the Direct Link field from the trigger step as a dynamic value. Each time you create a new spreadsheet, the Direct Link field will have a different link that corresponds to the new spreadsheet. Because you mapped it to the Body field, the value will adjust accordingly.
- In the Body type field, you can select “Plain” so you can use plain text in the Body field, instead of HTML.
- If you wanted to dynamically update the value in the Body type field, you could use a custom value instead of selecting from the dropdown menu. For example, if you wanted to use Html as a value, you'd enter "html" to match the ID shown in gray text in the dropdown menu.
