A trigger is an event that starts a Zap. After you turn on your Zap, Zapier will monitor for that trigger event. When it occurs, the Zap will then run through every action in your workflow. Learn more about how Zap triggers work.
A trigger can be events like:
- A new invoice created in your accounting app.
- A new email delivered to your inbox.
- An update to a row in your spreadsheet.
1. Create a new Zap
Start by creating a new Zap in your account home.
- In the left sidebar, click + Create. A dropdown menu will appear.
- Select Zap workflows. You will be redirected to the Zap editor in a new browser tab or window.
2. Select your app and event, connect your app account
Start setting up your trigger step by selecting the app you want to trigger from and the event in the app that should start your workflow. Then, connect your app to Zapier so you can move data between your apps.
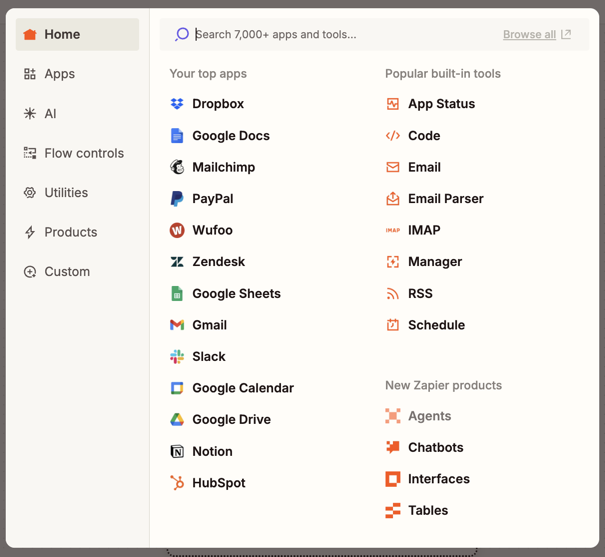
- In the Zap editor, select the Trigger step. A dialog box will open.
- In the search box, search for and select the app that will trigger the Zap. The right sidebar will open to the Setup tab.
-
Click the Trigger event field to open the dropdown menu.
- Select the event that you want to trigger the Zap.
-
Click the Account field. A popup window will open.
- Select an existing account from the list, or click + Connect a new account. Learn how to connect a new account.
If you frequently use the same trigger apps or events, you can pin them so they always appear at the top of the dialog box.
Some apps offer similar-sounding trigger events, such as New Row and New or Updated Row. Each behaves differently: a "New" trigger only fires when a brand-new item is created, while a "New or Updated" trigger fires on both new items and changes to existing ones. Each trigger event includes a description to help you select the right one.
3. Configure your trigger
If your trigger has additional fields to set up, you'll see a Configure tab where you can set up those fields.
- Select the Configure tab.
-
Set up all required fields and any optional fields that you need for your workflow.
- Required fields have an asterisk after the field name.
4. Test your trigger
Test your trigger to verify it is triggering from the right data. Testing creates a test record, or a representative sample of the step's data that your app will send to your Zap. You can then use that data in subsequent Zap steps by mapping fields. Learn more about testing Zap steps.
- Click the Test tab.
- Click Test trigger to load a test record from your app.
-
One or more test records will appear.
- If Zapier has trouble finding test data, try adding new data in your trigger app to create a new event, then re-test your trigger.
- Review and select a record.
- Click Continue with selected record to complete the step.
Some apps only return generic sample data during testing, not real data from your account. If your test records look unfamiliar or are missing fields you expect, try creating new data in your trigger app and re-testing. A successful test confirms your connection and configuration are working, but live trigger behavior may differ. Learn how to troubleshoot trigger test failures.
- You can select a new test record, use a previous Zap run as a trigger sample, or modify the data within your selected test record.
- As you edit each step, Zapier will auto-save your work as a draft.
You want your Zap to start running whenever there's a new or update spreadsheet row in your Google Sheets spreadsheet. To set up your trigger, in the dialog box:
- Select Google Sheets for the app and New or Updated Spreadsheet Row for the trigger event.
In the Setup tab:
- Select the spreadsheet and worksheet you want to monitor for new or updated rows.
- Connect your Google Sheets account to Zapier.
In the Configure tab:
- The Spreadsheet and Worksheet fields are required, as indicated by the asterisk next to their field names. You must enter or select values for each.
- The Trigger Column field is optional. If you want the Zap to only trigger when a specific column has a new or updated value, select it from the dropdown menu.
In the Test tab:
- After you test your trigger step, Zapier will load one or more spreadsheet rows as test records.
- Select a record to review its data. Check if it contains the fields and values you need to continue setting up your Zap.
Next steps
If you run into issues with your trigger, explore the Troubleshoot Zap workflows section. After you set up your Zap trigger, the next step is to add one or more actions for your to Zap perform after your trigger event occurs.