In order to use Google Sheets, you must follow several rules to use your spreadsheet in your Zap workflows.
While the UI in this video is outdated, the core functionality remains similar in most current versions.
Spreadsheet formatting
Any spreadsheet you use in your Zap must:
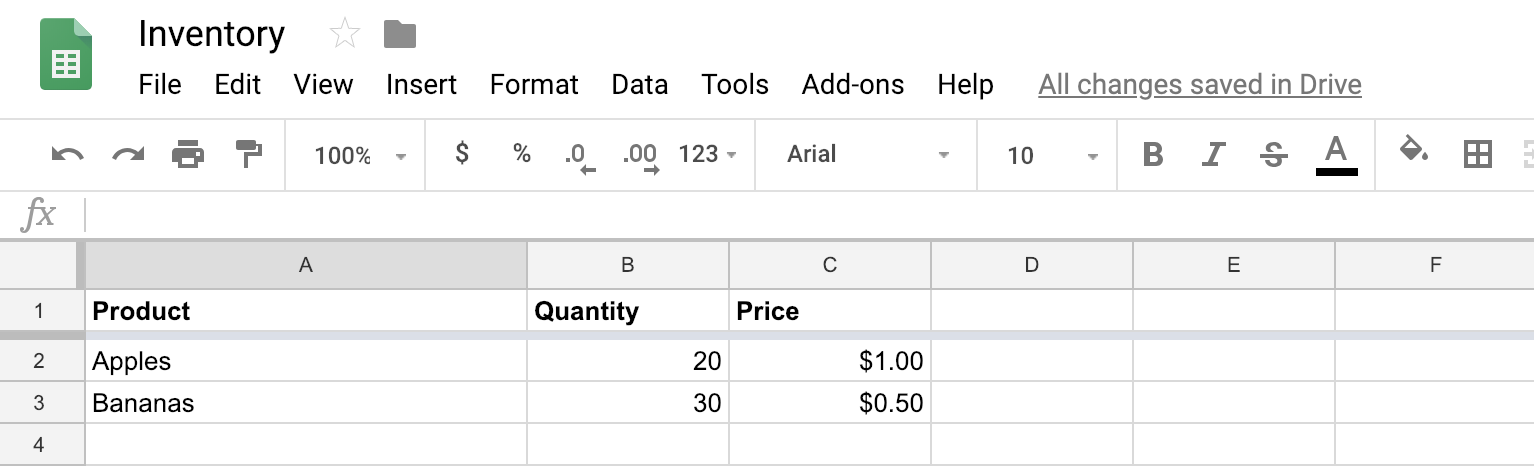
- Include headers in the first row. Clearly label each column with a descriptive name in the first row. This will tell Zapier where to send or receive data from.
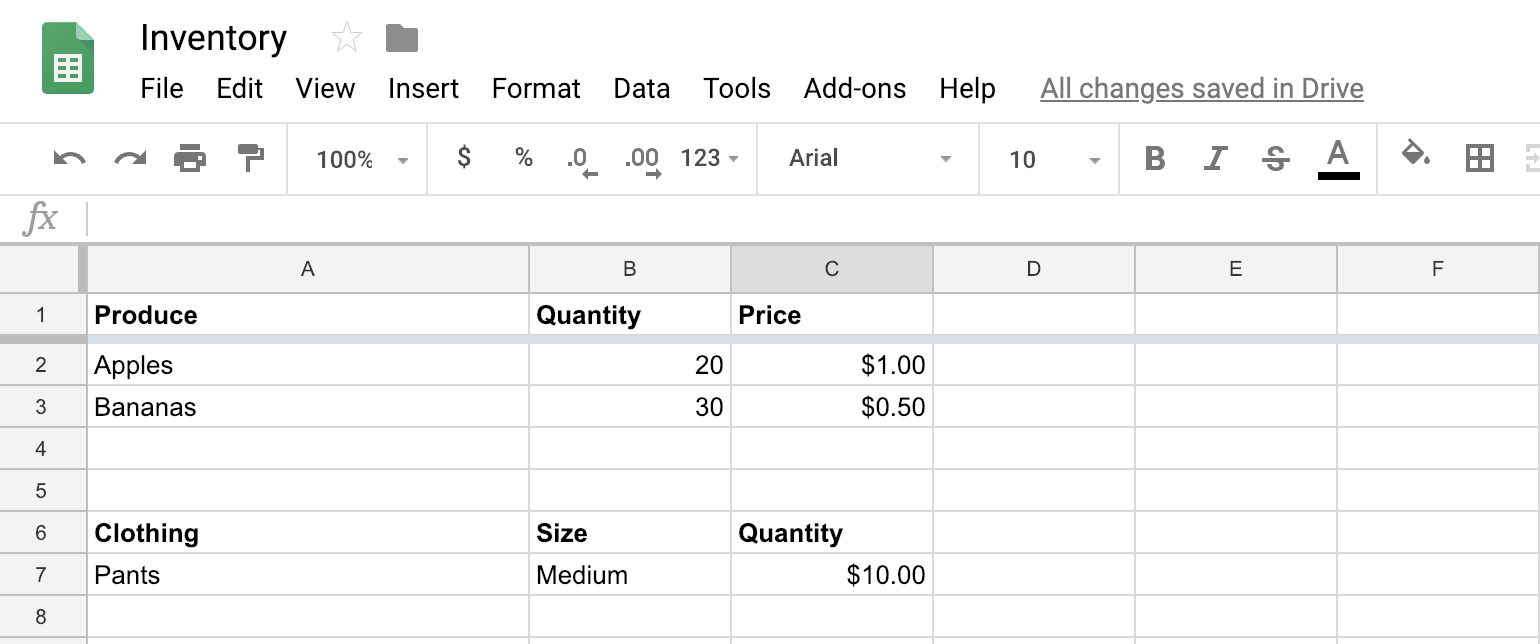
- Not contain multiple headers. Headers are only recognized in the first row. Zapier will not recognize headers in any other row of your worksheet. Consider using separate worksheets within the workbook for better organization.
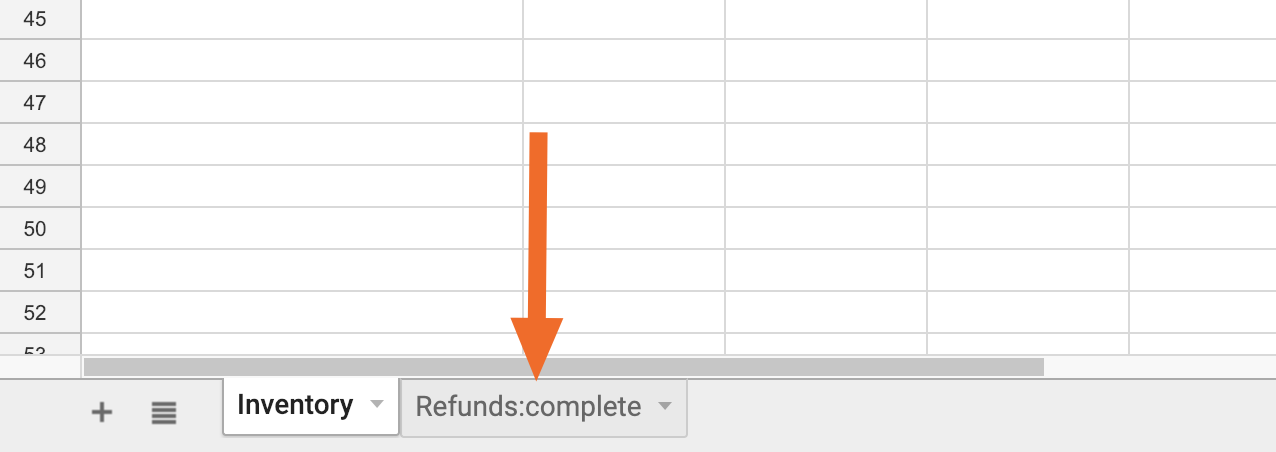
- Not contain punctuation in the spreadsheet or worksheet names. Symbols such as colons (:) will make it harder for Zapier to find the right spreadsheet.
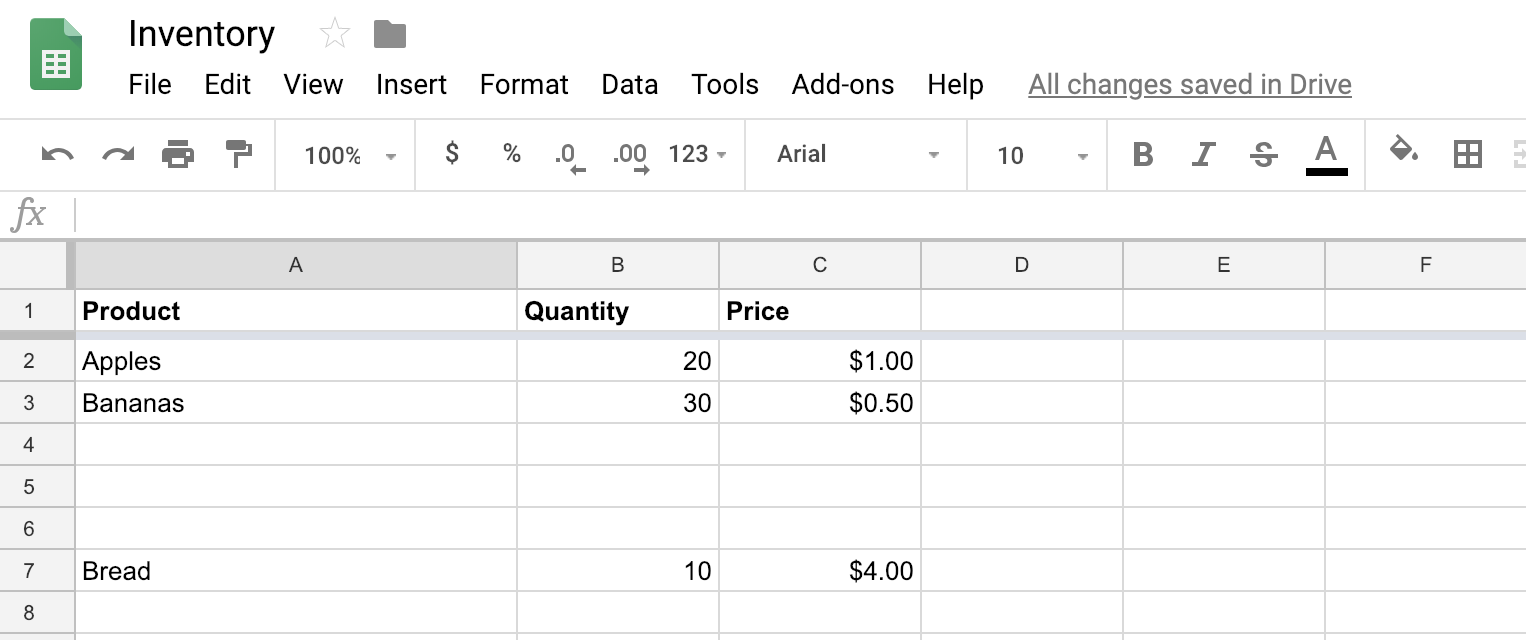
Avoid blank rows between rows that contain values. If you're trying to use a Zap to add new rows to your spreadsheet, it will always add rows after the last row with values. Similarly, rows with formulas, but no visible values are not considered empty.
Spreadsheet permissions
You must have the following permissions to use Google Sheets with Zapier:
- For trigger and search actions: viewer, commenter, or editor permissions.
- For create and update actions: editor permissions.
- If your company uses Google Suite: third-party app access.
File size
Google Sheets triggers are limited to 30MB or less, while actions can handle files up to 50MB.
Spreadsheet updates and maintenance
If you update your spreadsheet while your Zap is turned on, your Zap may error or you may see unexpected behaviors. The connection between Zapier and your spreadsheet will break if you:
- Delete existing rows and/or columns.
- Adding rows anywhere other than to the bottom of your sheet.
- Sorting your worksheet.
- Rename, add, or rearrange columns.
- Rename your spreadsheet or worksheet.
- Frozen, hidden or protected columns or rows.
If you need to update your sheet, first:
- Go to the Zap workflows page and turn off any Zap workflows connected to your spreadsheet.
-
Update your spreadsheet.
- Unfreeze, unhide or unprotect columns or rows.
- Re-test the Google Sheets triggers or actions in any connected Zap workflows. You may need to remap fields.
- Publish your Zap.
You must repeat this process every time you or a teammate updates the spreadsheet.
You can find and update spreadsheet rows dynamically in Google Sheets.