Email Parser by Zapier allows you to send emails to your custom "@robot.zapier.com" address and extract any data. This is a really handy app to use there is data in your emails that you wish to use as a trigger. Or alternatively, if an app you use doesn't have an integration on Zapier, but the data you need to work can be sent to you via email.
It works based on templates that you create which teaches the parser how to recognize patterns in your emails. From there, when you send emails to be parsed at your parser email address, you can use this data that has been passed in your Zap setup.
Limitations
- Email Parser only accepts 15 templates.
- Email Parser uses Central Time (UTC -06:00)
- It's not possible to change the email address associated with an Email Parser inbox. It will remain the same even if the Zapier account email changes.
- If an email contains more than one attachment, these will be shown as a zipped file.
1. Sign up for an Email Parser account
- Go to Email Parser and select Login.
- Select Login with your Zapier account to use your Zapier account, or use the Email and Password fields if you have an account that was created separately.
It's no longer possible to create new Email Parser accounts separately from your Zapier account, but if you created a separate one originally, your login details are still valid. Make sure you're using the login details registered when you first set up your Zapier Email Parser account. The Email Parser Account login is case sensitive.
2. Create a mailbox
- On the Mailboxes page, select Create mailbox.
You’ll now have an @robot.zapier.com email address that you can send emails to.
3. Send an email to your @robot.zapier.com email account
- Copy the @robot.zapier.com email address.
- Forward an email that you want to parse to the email address.
- Once Email Parser receives the email, you’ll see the email in a template.
4. Set up your template
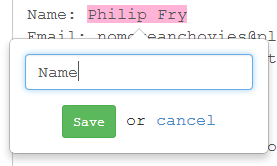
- In the template, highlight the words or groups of words that you want to show up as data in your Zap.
- Give each one a label. This will be the label of the field in your Zap.
Parsing emails can be tricky. Check out these tips for more accurate parsing.
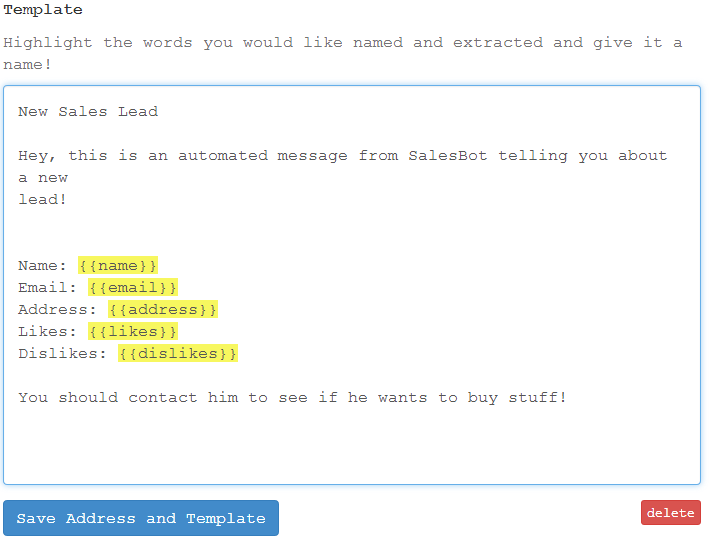
5. Save and review your template
Once you’ve labelled all the data, select Save address and template. Review the template.
6. Tips for improving parsing
- Try to keep each parsed item on a separate line where possible.
- If you can't use separate lines, use a non-space delimiter, like the "|" character, to help the email parser find the field boundary.
- Try to keep each parsed data roughly the same (e.g if you have parsed one word and it comes in as two words it might break).
- If the email has been forwarded that can cause trouble - extra threads below, extra signatures, indented content etc.
- Try to copy and paste the content into a new email instead or set up auto-forwarding.
7. Optional: Set up auto-forwarding
If you always want to parse a certain kind of email you receive, such as every new form submission on your website, you’ll want to set up auto-forwarding for whichever email service you use. Here’s how you do that with Gmail.
In order to verify your Email Parser email address to turn on auto-forwarding:
- Select View emails for the mailbox you want.
- Open the verification email and click the verification link.
If auto-forwarding from Microsoft Outlook, you must enable email forwarding.
Now that your mailbox is set up, any new email that is sent to it will be parsed. You can find all the emails received by going to your Email Parser mailbox.
You can now set up an action to use the information retrieved from Email Parser.